Antique Faux Wood Grain
Create realistic painted wood grain and classic faux bois patterns using traditional paint and glazing techniques.
Faux wood graining instantly elevates the warmth, comfort, and character of a space—adding the visual richness of wood where real lumber may be impractical or unavailable.
Antique faux wood grain is a decorative painting technique that convincingly replicates the look of natural wood by layering translucent glazes over a solid base color. By manipulating these glazes with brushes, combs, and wood-graining tools, you can recreate the movement, depth, and irregularity found in aged timber and historic millwork.
This versatile finish is ideal for wall paneling, doors, trim, and architectural moldings, as well as furniture, cabinetry, and decorative objects. Whether your goal is rustic, time-worn charm or refined old-world elegance, faux wood graining allows you to tailor color, grain pattern, and patina to suit both traditional and contemporary interiors.
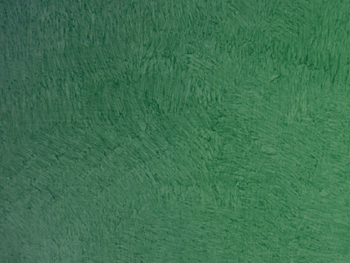
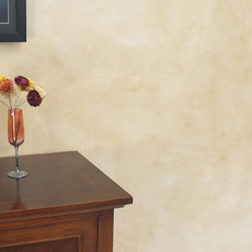
Create this rustic finish with the appearance of antique wood grain.
This fun and easy to product faux woodgrain finish compliments wall surfaces that have wallpaper or other decorative paint effects, mural painting and decorative plaster treatments.
The method that follows is designed to create an Antique Sage wood grain effect, with a dark tonal glazed over a lighter base coat.
Step 1:
Remove all nails and repair any damaged or cracked areas.
Isolate moldings, doors and trim by taping off wall surfaces and surrounding areas.
If necessary, remove all electrical cover plates. Cover furniture and floor areas with drop cloths.
Step 2:
Applying a high quality Water based primer.
The next step is to apply a quality water-based primer to the unfinished wood surface. Apply primer with a brush working hte primer into the recesses, then follow up with straight brush strokes up and down, following the natural wood grain.
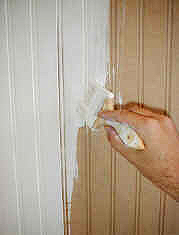
applying a good quality water-based primer.
Base colors and mixing your glaze
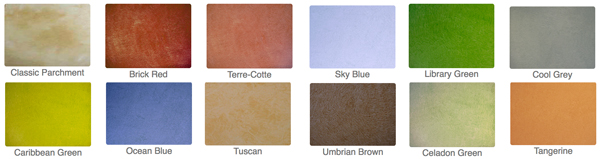
Suggested Color Ideas
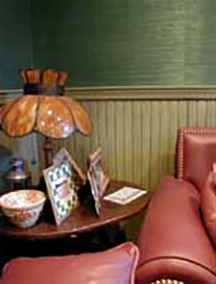
For this tutorial we've chosen the perfect compliment to the classic 'Libray Green' tones that we've come to recognize collectively as a culture, reinforced in our cinematic cultural representations of luxury resorts, fanciful club houses and sea-faring cruises.
Base Color Benjamin Moore Lehigh Green - HC-131 - Latex Eggshell

Glaze color Library Green
Step 3: Apply base color
Use an eggshell sheen (or low sheen - but NOT FLAT) acrylic (latex) base color. Choose from your favorite paint manufacturer (Ben Moore, Behr, Ace, Sherwin William, Etc). Allow this base color to fully dry (8 hrs).
Step 4: Mix the secondary, 'grain' color.
In a bucket create a color combination that is the value and color you would like to achieve. The glaze coat is mixed as a concentrated color, then diluted to the fluidity needed for the glazing process. For most rooms, one quart of Paintmanufacture latex glazing liquid will be sufficient. Using universal tinters, add color slowly, mixing thoroughly until desired color is achieved. Add ¼ cup Floetrol to help extend the drying time. It may also be helpful to add small amounts of water to facilitate mixing. This will be your ‘master glaze’. Experiment in a low visibility area of the surface being treated. Adjust color of the ‘master glaze’ to your liking, wiping clean your test area after each test application.
Step 5:
Wear disposable gloves. With glaze color prepared, place a portion of glaze color in one of the 2.5 qt. buckets. Add water and dilute to proper consistency. Experiment. Fill the other bucket 2/3 full with water.
Use the sponge for the water and a clean 3 inch to 5 inch brush to use for your color glaze. Wet the surface with water to dampen it. Work one area at a time. See glazing methods for more information. Wetting the surface first allows the glaze to go on fluidly and evenly.
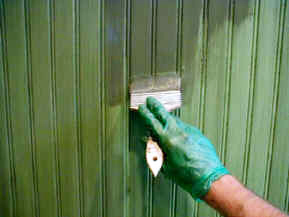
Appy the glaze to the surface.
Take a brush, dipped in the glaze, and brush over dampened area to spread glaze. Work evenly over area for full coverage. Make sure not to leave any untreated areas.
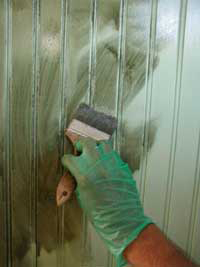
Step 7: Use your dry brush and drag glaze smoothly and evenly
Take a clean, dry bristle brush and with a firm hand begin at one end of surface, dragging the brush evenly through the glaze moving in a downward manner. This will remove the freshly applied glaze from the surface, revealing the base color and producing a striee, lined texture.
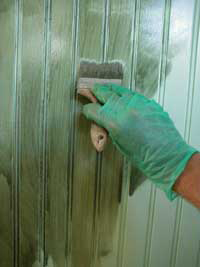
This treatment resembles a wood grained effect. It is important to drag the color in the proper direction to maximize this effect. In this case, straight up and down.
Regularly wipe dry brush with a clean rag to remove excess glaze to insure a fresh grain pattern. Work evenly over surface. Wipe end edge with a rag to create a clean finish line.
Pro-Tip: Working 'sag' and 'runs'
If glaze is too fluid and continually “sags” or runs, allow to set momentarily then return and work at glaze with a dry brush until smooth. Be aware that latex glazes set quickly.
Move to next area and repeat. Work glaze to previous edge but don’t overlap existing striee. Continue until area is completed.
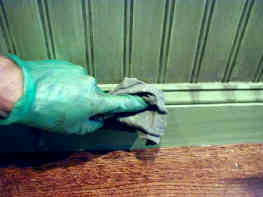
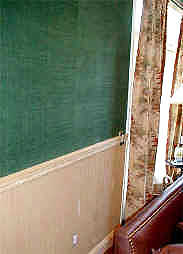
Working with base moldings, door casings and crown moldings
Apply liberally over trim molding, following up with a dry brush in the direction of the natural wood grain. Use a clean rag and remove glaze from all high points, wiping molding profile details clean to create contrast and imply worn, aged edges.
OPTIONAL: Add richness and depth by applying an additional antique glaze.
Create the perfect antique glaze.
Now that you have your faux wood grain completed add another layer of depth with a simple antique glaze. Allow first glaze coat to dry completely (24 hrs)!
Creating the - 'Classic Antique Glaze' - In a bucket mix latex glazing liquid with universal tinters. Mix 2 parts Raw Umber with 1 part Burnt Seine. Add color slowly, mixing thoroughly until desired color is achieved. Add ¼ cup Floetrol to help extend the drying time. It may also be helpful to add small amounts of water to facilitate mixing. Experiment in a low visibility area of the surface being treated. Apply glaze in the same manner as before, steps 6 & 7. Allow to dry fully.
Applying a protective varnish coat
Step 9:
A water-based varnish, such as latex varnish may be applied after faux wood grain and antiqued surfaces have dried completely (24 hrs.) for surface protection. For trim and molding surfaces it is recommended to use a Low-luster finish, or Satin sheen varnish.
Clean up with warm, soapy water.
Retain some of the master glaze for future touch ups in a covered glass container. Dispose of remaining glazes properly.
More features you may like
 Plaster Effects
 Antique Center
 Wall Effects
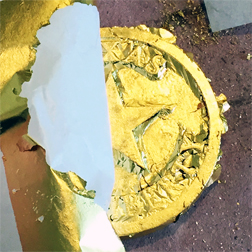 Gilding Techniques
 Furniture Effects
 Faux Effects
Pre-mixed Glazes
Ready, set, GO!
Getting going with these premixed glazes. Select one of our pre-mixed glaze colors or create your own. We custom mix any color from all major paint manufacturers. Just pick your own color from any swatch book and let us know the paint name and number and we'll send you the right glaze - interior or exterior - custom matched to your liking.
Create classic effects such as colorwashing, dragging, striee, antiquing effects, furniture effects and much more!
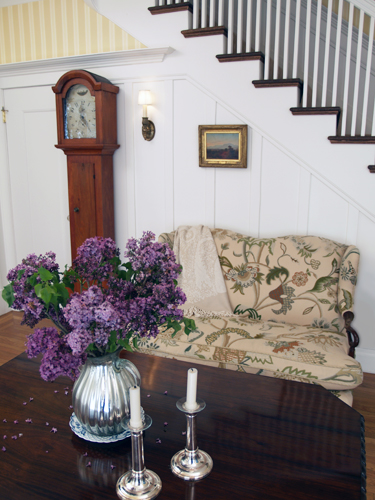
Early American Style
Colonial Amercians drew inspriation from their European heritage. Curent design styles would filter across the ocean and become reinventedin early America. Proportion and scale took reign over ornementation, A neutral color palette of grey blue, greens and rose pinks is readily apparent.

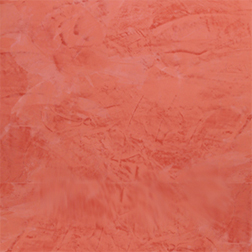
Venetian Plaster
Polished Plaster, or Stucco Veneziano, is a Traditional wall treatment that provides a glossy, visually textured wall finish. Venetian Plaster is a natural formula composed of organic ingredients, calcium, and acrylic binders creating a decorative paste plaster for interior applications. Polishing the surface compresses the calcium within the compound, creating a narble-like finish, cool and hard to the touch.
This treatment is quite versitile, ranging from a rustic backdrop to a refined and elegant finish.

The Rustic Color Palette
The Rustic Style color palette falls within a distinct range of color tones and is essential in creating a successful Rustic interior. By using the appropriate color tones you can create a variety of design styles ranging from Period and Historic, regional or thematic. Color helps define our experiences within an interior and exterior environment. It affects us on a physical, emotional, and spiritual level and can be calming and passive, expressive and vital.
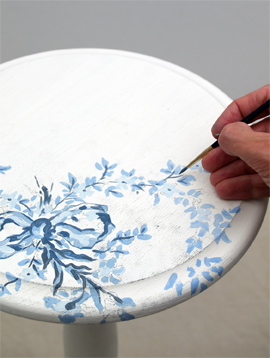
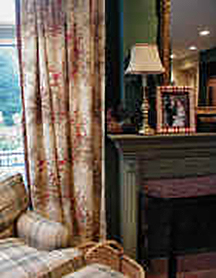
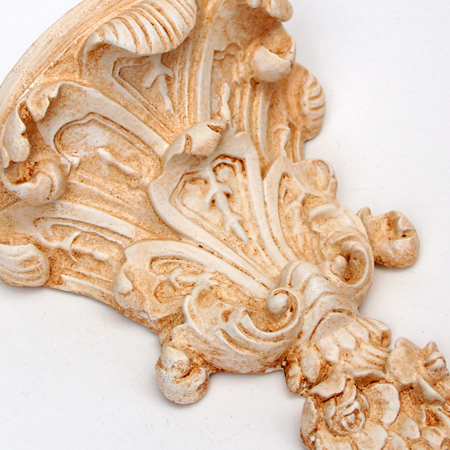
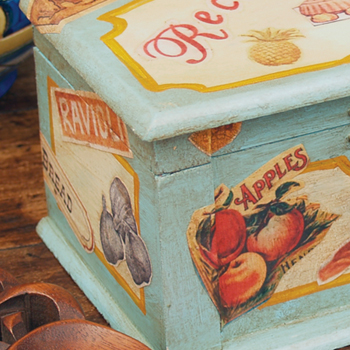
Painted Floral Details
Floral patterns used as accents in fabrics and furniture are common place details in the English Country home. These graceful and organic patterns complement the cozy interior of this style and work particularly well with lace window treatments, an heirloom tea service set and the natural and rustic charm of wooden ceiling beams and slightly irregularly textured walls.