Hand Painted Toy Chest
How to paint a vintage toy chest.
This easy step by step shows you how to transform an everyday storage bin in to a hand painted vintage toy chest.

Folk Art Toy Chest
Combining a variety of techniques, this toy box exemplifies the folksy, hand painted look of Early American objects. By mixing a limited color palette and combining common shapes one can create treasured keepsakes that would sit proudly among authentic counter parts. I decided to create a toy box as it seemed a natural choice to compliment this whimsy decorative treatment.
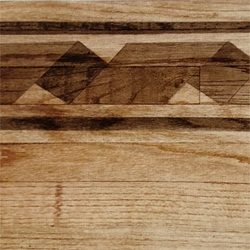
Painted Inlay Floor Border
This process imitates the appearance of individual pieces of wood inlayed as a border to a wooden floor. A variety of patterns can be created, often imitating an assortment of wood types such as mahogany, oak, pine, ebony and maple. I’ve found this treatment to be a successful method of creating a period feel within a range of styles. And since there are very few design limitations you can create wonderfully unique floors to fit your style.
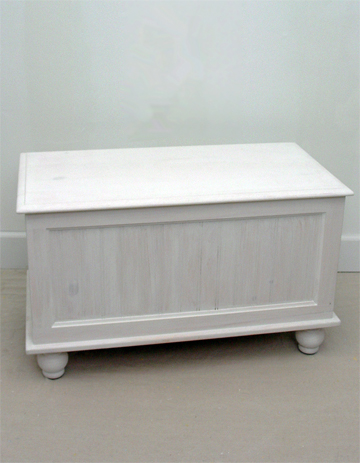
Step 1:
I begin by applying an Acrylic primer using a mini-roller and 1 inch chip brush. This first coat will slightly raise the fibers of the unfinished wood, so I use 220 grit sandpaper to smooth all surfaces, sanding in the direction of the grain only.
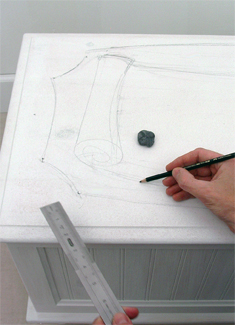
Step 2:
Using the Transfer Method found on page XX, I’ve laid out the top of the toy chest with the pattern from my template found on page XX.
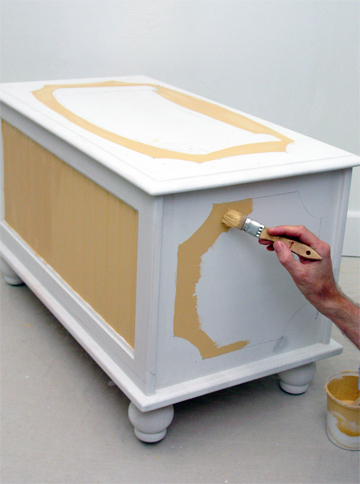
Step 3:
I begin to block out the colors and forms on the toy chest. Because your chest might be slightly different, the shapes I’ve selected are simple and adaptable. For the front I paint a rectangular shape, and on the shorter sides an octagon shape with color 1 - Chesterfeild Yellow.
The No. 6 Flat brush creates a ½ inch line and works well to outline the existing forms with the Federal Blue. Next paint the remaining blank areas in Primary Red.
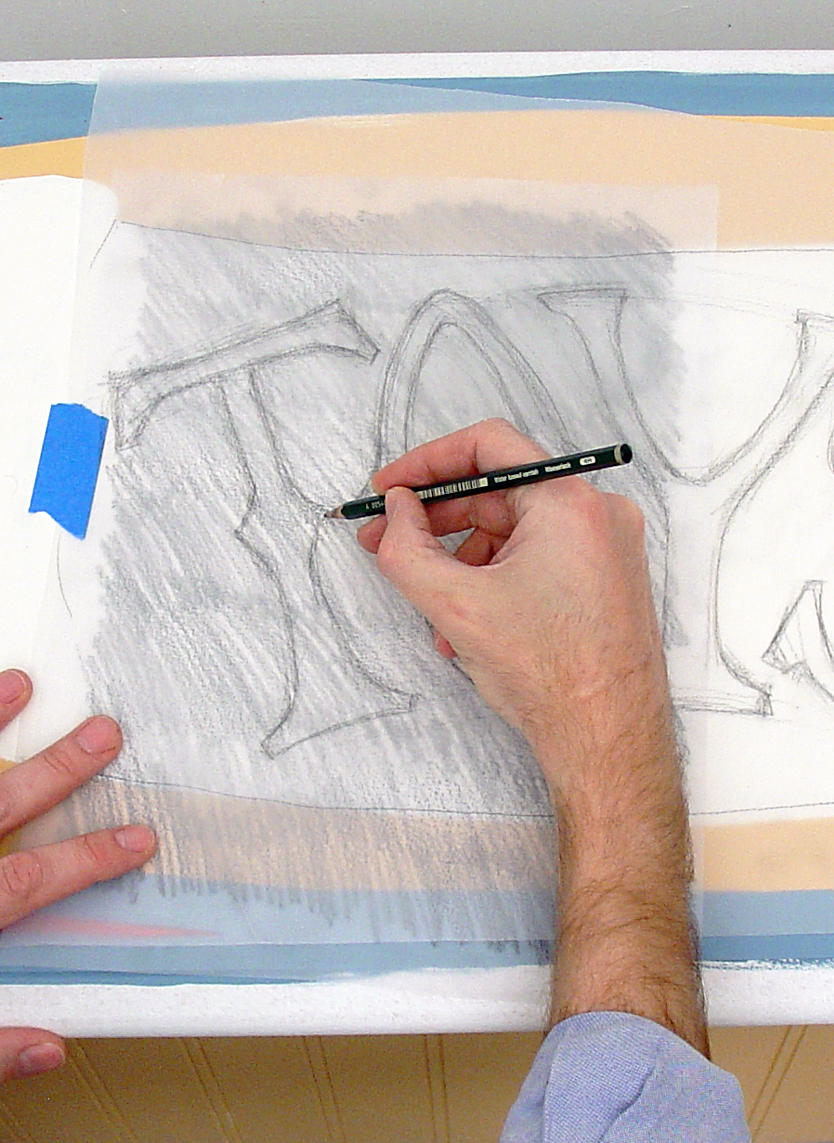
Step 4:
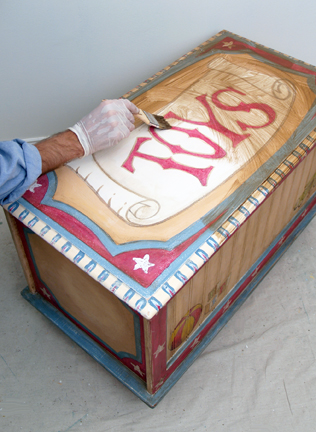
For the scroll and lettering I first mixed Raw Umber with a hint of Ultramarine Blue and traced the outlines using the No. 6 Round brush. Complete this step by filling in the letterforms with the Primary Red paint..
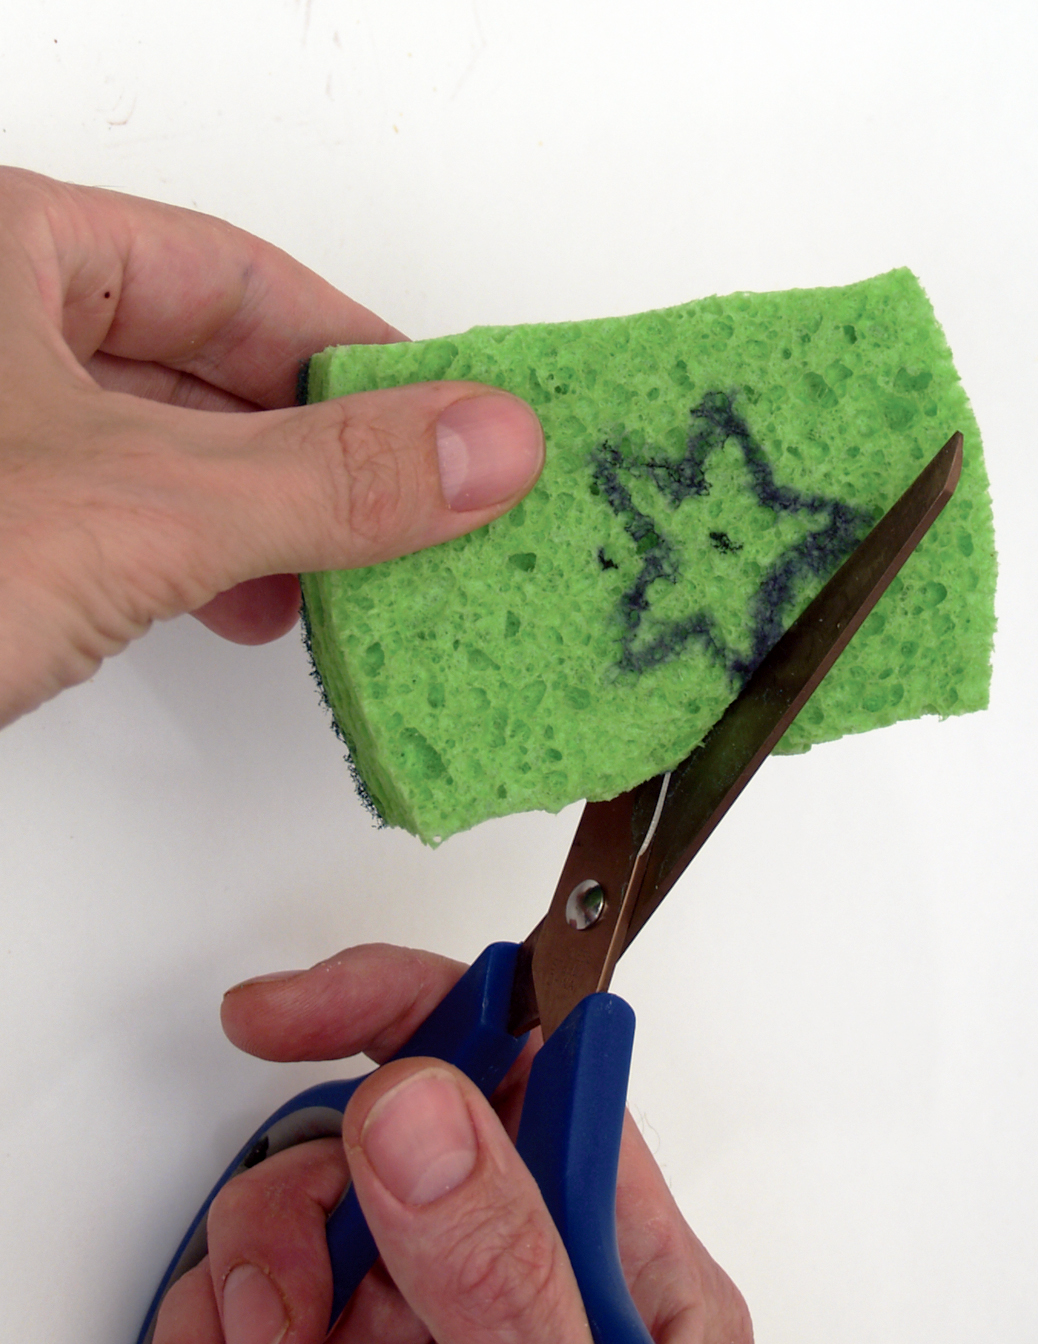
Step 5:
Create a star shape from your sponge with a Sharpie pen and cut this form out. Determine the correct size of the star by measuring the dimension of the red painted frame of the toy chest.
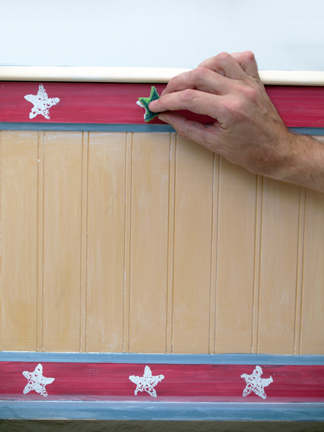
Step 6:
Dip the Sponge stamp into white latex paint and press onto the toy box surface to create a simple star pattern that traces the frame of the front and side panels.
Color Essentials

Fundimentals of color. It will set you free!
Using color at home or in the office - for paintings, furniture or any artistic challenge - takes a good eye, a little know how, and a creative imagination. Create custom color schemes and color effects in your home or office. Learn how to use the best base color, create a glaze, mixing colors, and more.
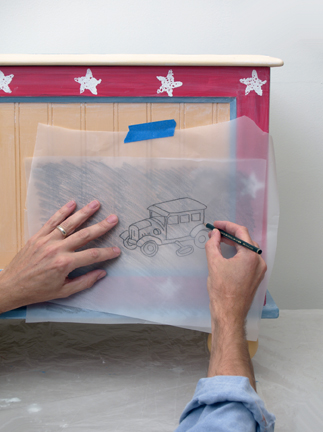
Step 7:
Next I sketch on the front panel some nostalgic images of a toy car and ball and block set. You can use the templates found on page XX to achieve this. Once transferred, I outline the forms with the Raw Umber, Ultramarine Blue color combination
Featured Product Ideally suited for exterior applications.
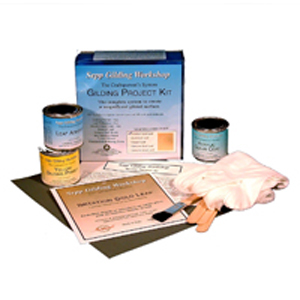
Gold Leaf Kits - Oil based
Professional Gilding Kit - 23kt Gold Leaf. Each kit contains: Basic step-by-step instructions, one book 23kt Gold Leaf book (Patent leaf) one 4 oz. bottle of yellow/ochre oil based Gilding Primer, natural hair brush, one 4 oz jar of oil based gilding size, one 4 oz Acrylic Top Coat Sealer, cotton and mixing sticks, wet/dry paper and book of leaf. Solvent-based. Each Gold leaf book contains 25 leaves. Each leaf is 3 3/8" x 3 3/8" square. Approx coverage is 1.7 sqft.
UPS Ground shipment only.
Learn more and purchase sealers for gold leaf now.
BUY NOW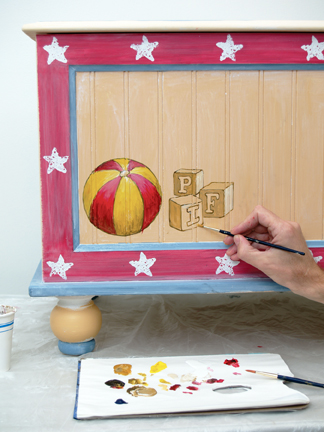
Step 8:
Using the same color palette, except for the introduction of green, I paint in the objects on the front of the chest. Though I’ve created volume by gradating colors of light and dark tones, you may choose to just use solid color to create a simpler, folksier appearance.
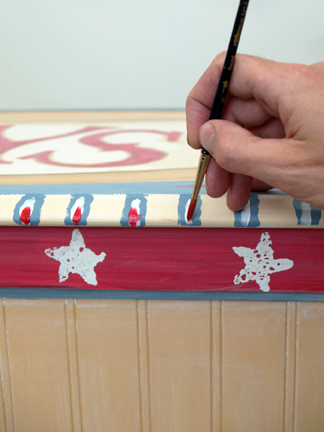
Step 9:
The final painted step is to apply a simple color pattern around the perimeter of the top. I thought this detail would add just the right amount of whimsy to the chest, creating a visual staccato of blue, white and red the helps unify the entire piece.
The final procedure is to apply an Antiquing Glaze to the chest. This is carried out in the same manner as we’ve seen in other tutorials in this book.
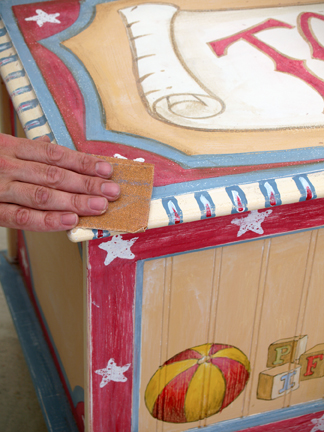
Step 10:
I begin by physically distressing the chest by using 220 grit sandpaper and rough the entire surface. In some instances, especially on corners and edges, I’ll remove paint to the bare wood.
Step 11:
An antique glaze of Raw Umber, Burnt Umber and Ultramarine Blue in a 4:2:1 ratio respectively, is loosely brushed over one entire surface at a time. This is quickly followed with a clean rag that blots, rubs and smoothes out the glaze to a soft but antiqued appearance. Repeat on all sides. For the finishing touches, a large, dry brush can be utilized as an effective softening tool.
A clear coat of Latex Satin sheen sealer can be applied over the entire chest to insure a consistent finish and suitable protection from general wear and tear.

Hydrocote Polysheild Clear topcoat - Gloss or Satin
Water Based
Hydrocote Topcoat. Polyshield Clear topcoat is a water based non-yellowing polyurethane sealer. This sealer is water clear with exceptional clarity. It dries quickly to a hard durable finish. It is resistant to water and marring when fully cured. Polyshield is UV stable which keeps it from yellowing over time.
Hydrocote Polyshield is available in gloss and satin. It is non-flammable, non-toxic and environmentally safe.
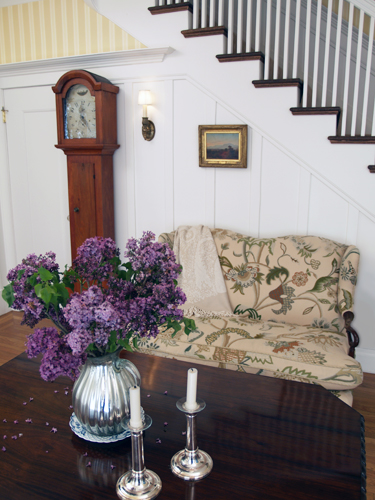
Early American Style
Colonial Amercians drew inspriation from their European heritage. Curent design styles would filter across the ocean and become reinventedin early America. Proportion and scale took reign over ornementation, A neutral color palette of grey blue, greens and rose pinks is readily apparent.

Venetian Plaster
Polished Plaster, or Stucco Veneziano, is a Traditional wall treatment that provides a glossy, visually textured wall finish. Venetian Plaster is a natural formula composed of organic ingredients, calcium, and acrylic binders creating a decorative paste plaster for interior applications. Polishing the surface compresses the calcium within the compound, creating a narble-like finish, cool and hard to the touch.
This treatment is quite versitile, ranging from a rustic backdrop to a refined and elegant finish.
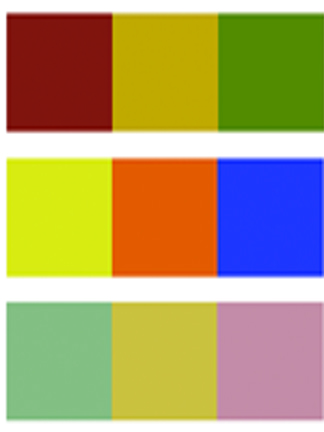
The Rustic Color Palette
The Rustic Style color palette falls within a distinct range of color tones and is essential in creating a successful Rustic interior. By using the appropriate color tones you can create a variety of design styles ranging from Period and Historic, regional or thematic. Color helps define our experiences within an interior and exterior environment. It affects us on a physical, emotional, and spiritual level and can be calming and passive, expressive and vital.
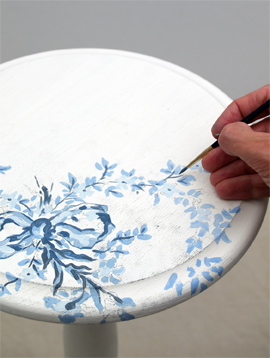
Painted Floral Details
Floral patterns used as accents in fabrics and furniture are common place details in the English Country home. These graceful and organic patterns complement the cozy interior of this style and work particularly well with lace window treatments, an heirloom tea service set and the natural and rustic charm of wooden ceiling beams and slightly irregularly textured walls.