Rustic Plaster effects.
Aged plaster walls in 6 easy steps. Quickly create antique and aged plaster wall finishes for your interior or exterior spaces.
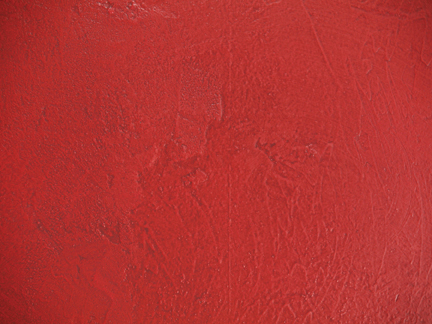
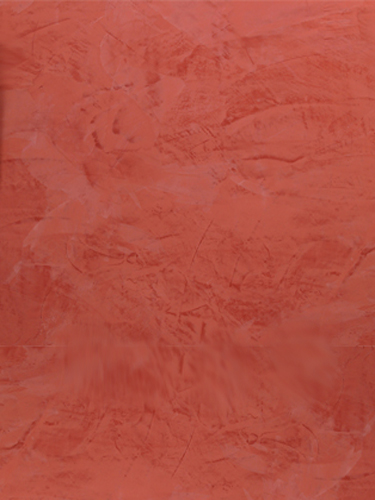
Rough textures to smooth coat finishes, this rustic aged plaster finish can be produced in virtually an color combination.
Rough textured walls seem synonymous with the rustic interior. When using dark or vibrant colors this simple paint and plaster compound makes it easy to achieve the desired color strength and depth. A light antique glaze completes the effect, adding just the right amount of worn beauty to the walls. In addition, this technique is great in a variety of settings and is an easy solution to treating irregular or slightly damaged wall surfaces.
Special Feature

Painted Scrolls on Ceiling Beams
The charm of painted scrolls on ceiling beams needs no introduction. This decorative accent is a delightful addition to any room. And though beams are common elements in many interiors rarely do one see them used as a focal point for decorative applications. Whether you enjoy the old world charm of Italy, or the contemporary flair of a San Francisco loft space, these tech iques can be adapted to suit the most creative inspiration.
Color Palette
Base Color – Red Dawn

Glaze Color – Rustic Brick

Prepare the working area.
Step 1:
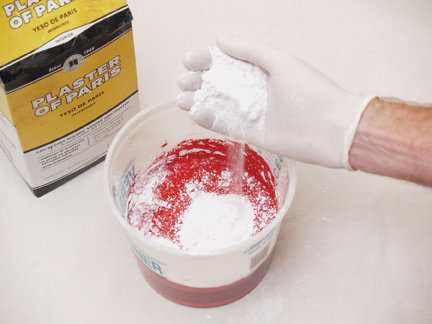
Mixing the plaster compound
In a bucket I pour approx. 1 quart of the latex flat wall paint, Red Dawn. Slowly I add handfuls of Plaster of Paris, stirring the mixture thoroughly to insure the plaster becomes fully integrated with the paint. I mix the plaster/paint combination in small batches, to insure the compound does not dry out and become unworkable as I move along the room.
Step 2:
Continue to add plaster until you have created a mixture with a smooth putty consistency.
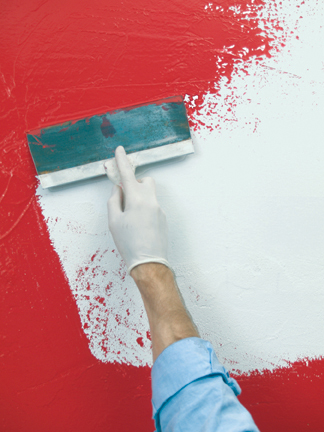
Step 3:
Once I have thoroughly mixed the plaster-paint compound I begin to trowel on the plaster over the wall surface. Starting at the top of the wall I spread the plaster mixture over the surface with a wide, flat trowel or putty knife.
Creating a slight texture is an important part of the antique plaster appearance. Do this by spreading the plaster thinly over the wall, adding more as needed. Using a second trowel or putty knife, continually wipe blades together to remove excess plaster build up on the trowel edge. Create slight variations in texture over the surface by dragging the clean trowel blade over the surface. Experiment with different amounts of pressure applied to the blade. A light, even pressure will cause the trowel edge to 'skip' over the surface, creating variations in surface texture. A harder, firmer texture will result in smoother areas. Try and develop a nice blending of smooth areas, with occasional, irregular textures.
Step 4:
Continue over the wall surface until you are out of your plaster-paint mix. Mix up another batch and continue onward until your have completed the walls.
When you reach a corner, simply apply the plaster mixture with a small 1/2 inch brush and smooth outward with a trowel. Your finger, dipped in the plaster compound can also work well, as long as you complete the corners by smoothing the surfaces with the trowel edge.
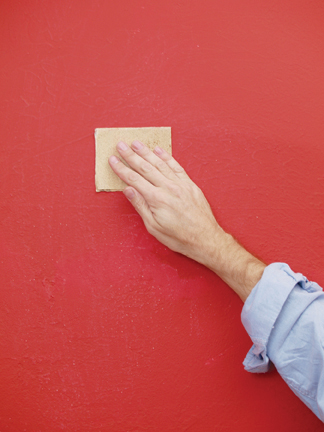
Step 5:
Lightly sand the plaster surface with 180 grit sandpaper to smooth it and remove any coarse areas. This should be done in a quick and efficient manner. The intention is to smooth the surface only, not to get rid of textured areas. When the sanding is complete remove any loose dust with a tack cloth.
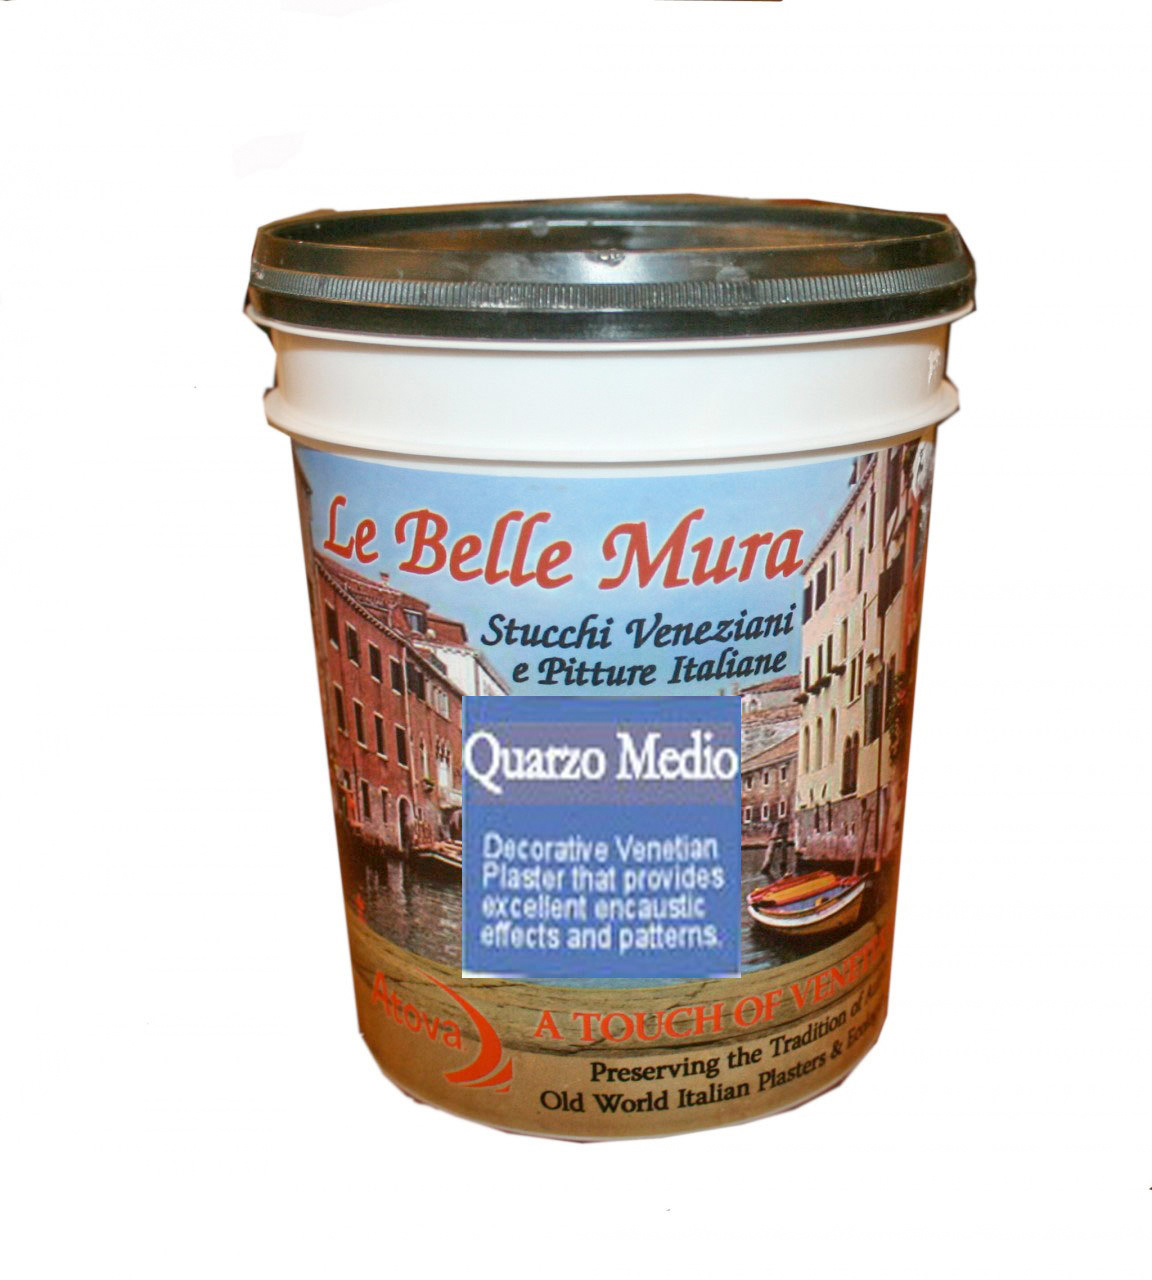
Quartz Primer
Quartz aggregate acrylic primer. For use with smooth lime plaster and medium lime plaster finishes.
Interior/Exterior
more on Quartz Paint.
Quartz primer is a smooth finish primer used to create good foundations for applications for venetian plaster and smooth lime finishes,including Tadelakt Moroccan Lime Plaster and Maramrino. Fine Quartz Primer and Medium Quartz Primer is granular quartz facing in an acrylic formula. It is a flat finish primer for texture basecoats and preparation. Commonly used to prepare surfaces so that they are perfectly absorbant, smooth, and transpiring. The quartz mineral content creates a stable and integral bond with venetian plaster top coats and mineral based plasters.
Available as Fine Quartz and Medium Quartz aggragate to accomodate different plaster materilas and compounds.
Visit all our Paint and Plaster products.
Glazing the plaster surface
When the plaster is dry, you are ready to begin the antiquing process.
Step 6:
Mixing the Antique glaze
You will need 2 plastic buckets, 2.5 gallon or larger. One will hold your glaze mix and the other just plain tap water.
Antique Plaster color mixing ratio:
Mixing ratio 8:4:1:1 - Bulletin Red:Venetian Red:Raw Umber:Ultramarine Blue
In bucket 1 mix eight parts Bulletin Red, four parts Venetian Red with one part Raw Umber and one part Ultramarine Blue into 1/2 quart of latex Glazing liquid. Add enough water to dilute the glaze to a loose and fluid constancy. Test the color in a non conspicuous area of the wall, adjusting the colorant as needed until you get your color right. For a light antique add more water to thin the glaze considerably. For a darker, richer look add less water, leaving your glaze thicker.
Your second bucket has plain water in it. This is used to wash over the wall prior to glazing to make it wet before you start applying your glaze.
Step 7:
Applying the antique plaster glaze
First I wet the plaster wall first with clean water. This allows the glaze to move freely over the plaster surface. If you were to apply the glaze directly to the dry plaster the colored glaze would immediately soak into the dry, porous surface and stain the wall, resulting in spotty, unworkable glaze.
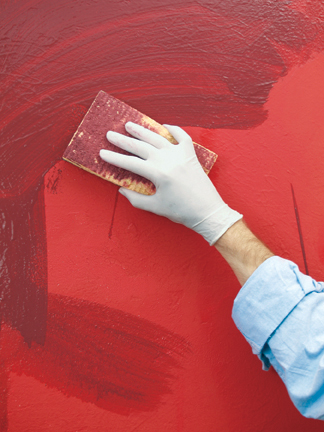
Step 8:
Using a moistened sponge dipped in the antique glaze, I spread color over the damp plaster surface. You can soften the color by varying the pressure applied with the sponge. You will notice some darker glaze 'settling' in the recesses of the textured wall, with the 'high points' getting lighter, caused by the continual softening of the glaze due to your sponge movement.
Color irregularities, i.e., dark and light areas, are desirable and accentuate the antique look of the plaster wall.
When you reach a corner apply the glaze mixture with a small 1/2 inch brush and smooth outward with a dry brush.
Allow the glazed surface to dry completely. The overall color will lighten as the moisture from the wall dries.
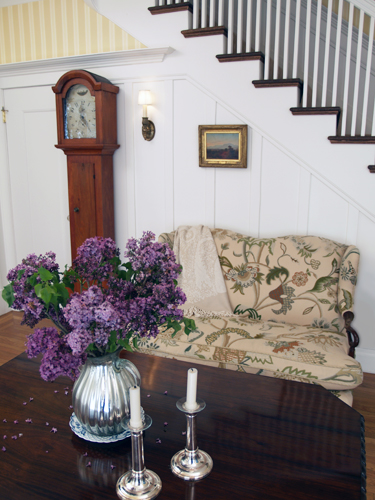
Early American Style
Colonial Amercians drew inspriation from their European heritage. Curent design styles would filter across the ocean and become reinventedin early America. Proportion and scale took reign over ornementation, A neutral color palette of grey blue, greens and rose pinks is readily apparent.
Venetian Plaster
Polished Plaster, or Stucco Veneziano, is a Traditional wall treatment that provides a glossy, visually textured wall finish. Venetian Plaster is a natural formula composed of organic ingredients, calcium, and acrylic binders creating a decorative paste plaster for interior applications. Polishing the surface compresses the calcium within the compound, creating a narble-like finish, cool and hard to the touch.
This treatment is quite versitile, ranging from a rustic backdrop to a refined and elegant finish.
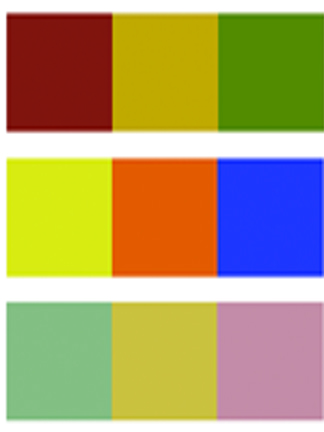
The Rustic Color Palette
The Rustic Style color palette falls within a distinct range of color tones and is essential in creating a successful Rustic interior. By using the appropriate color tones you can create a variety of design styles ranging from Period and Historic, regional or thematic. Color helps define our experiences within an interior and exterior environment. It affects us on a physical, emotional, and spiritual level and can be calming and passive, expressive and vital.
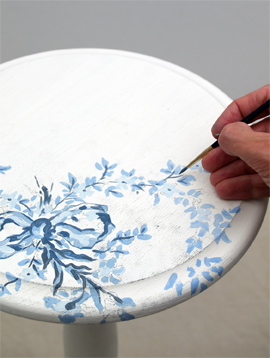
Painted Floral Details
Floral patterns used as accents in fabrics and furniture are common place details in the English Country home. These graceful and organic patterns complement the cozy interior of this style and work particularly well with lace window treatments, an heirloom tea service set and the natural and rustic charm of wooden ceiling beams and slightly irregularly textured walls.