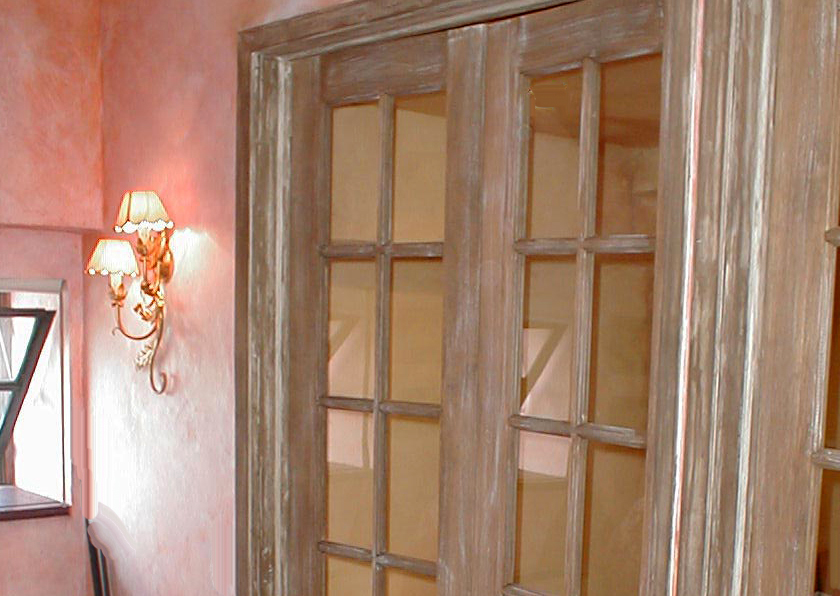
Weathered Doors and Windows
This technique creates a wonderfully time worn accent that can be essential in defining the rustic interior.
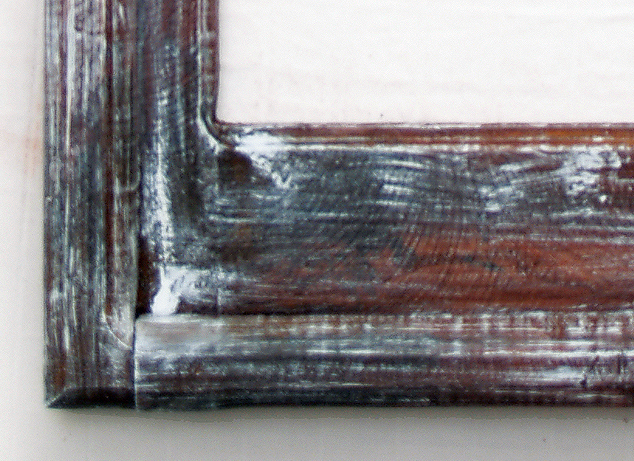
The final appearance is one of old wood, stripped of paint. It suits many interior spaces and, by changing the colors, you can adapt this technique to most interior schemes. Because of the easy application of this effect, the completed look is simple, unassuming rustic charm.
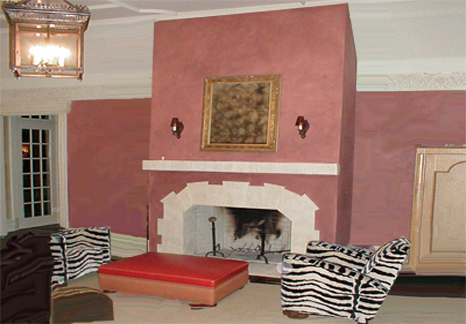
Rustic Style Classic Elegance
Stucco Rustico is a Traditional interior and exterior textured plaster that epitomizes the rustic old world charm commonly associated with Tuscan environments. I love this treatment for its ease of application and the natural, organic glazed appearance that results when using mineral based plasters and glazes. Whether a rough application or a smooth finish, this treatment holds true to the test of time and, in fact, feels as if time itself stopped to wash the walls personally.
Step 1:
This faux finish effect works best over an unfinished or previously stained door or window surround. If you are working on a pre-finished door you’ll need to strip the finish, or use 180 grit sandpaper, sanding in the direction of the grain. Sand the surface until it is completely dull, though not necessarily to raw wood.
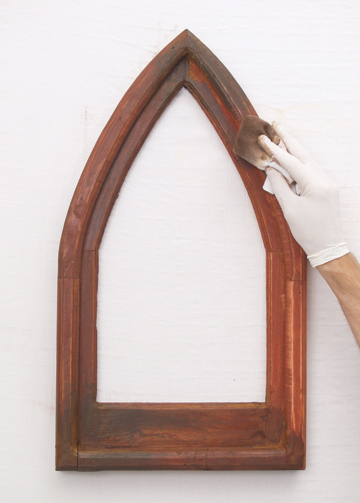
Step 2:
On unfinished doors, apply a wood stain using a staining pad or rag. Use a clean brush when necessary to get into corners or crevices.
When staining, work from the bottom upward. This way you prevent drips or spatters landing on unfinished wood. When applying your stain, use a fresh, dry rag to remove excess and facilitate even coverage.
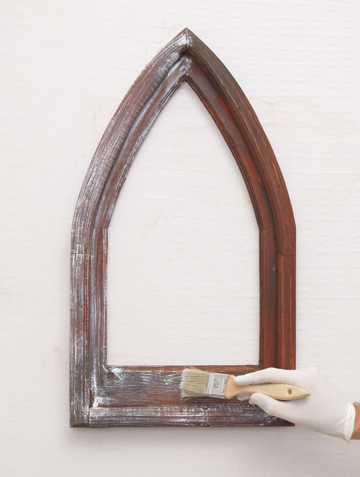
Step 3:
Applying the weathered finish. Dip a dry brush lightly into the paint and wipe it loosely over newspaper to remove any excess build up. Now drag the dry brush over the door or window surface. Keep a very light touch and pull the paint in the direction of the wood-grain. The objective is to leave only a small amount of paint on the surface, in streaks that follow the direction of the wood grain or panels.
Step 4:
With a clean rag, periodically wipe off excess paint from your brush. If you want a more opaque appearance you can always build up the paint density by repeating the procedure.
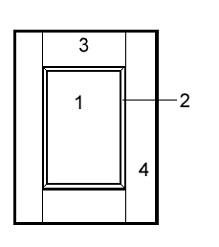
Diagram 1.
The diagram below outlines the basic method for dragging on a door frame or panel.
A: If applicable, begin with center panel (1), dragging downward in even strokes.
B: Add paint to the inside panel molding (2).
C: Drag top and bottom panel in a horizontal manner (3). Try to start and stop where the panels join. This mimics the grain pattern of how the door is put together.
D: Drag left and right panel (4), carefully dragging against clean line created in step C with your dry brush.

Step 5:
5. It’s important to pay attention to details. Look for any missed spots at the inside edgings of door or window panels and areas around hinges and door knobs.
Allow to dry fully (2 -3 hours). Remove masking tape from glass, hinges and door knobs. You may choose to apply a protective clear coat finish in a low luster or satin finish for extra protection.
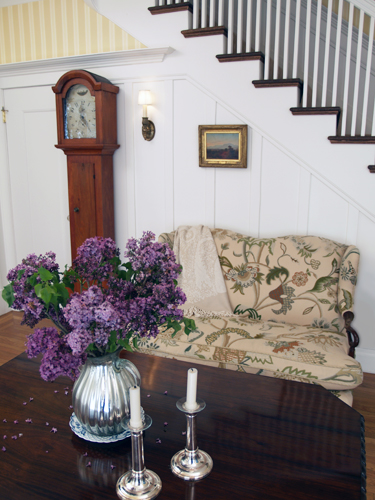
Early American Style
Colonial Amercians drew inspriation from their European heritage. Curent design styles would filter across the ocean and become reinventedin early America. Proportion and scale took reign over ornementation, A neutral color palette of grey blue, greens and rose pinks is readily apparent.
Venetian Plaster
Polished Plaster, or Stucco Veneziano, is a Traditional wall treatment that provides a glossy, visually textured wall finish. Venetian Plaster is a natural formula composed of organic ingredients, calcium, and acrylic binders creating a decorative paste plaster for interior applications. Polishing the surface compresses the calcium within the compound, creating a narble-like finish, cool and hard to the touch.
This treatment is quite versitile, ranging from a rustic backdrop to a refined and elegant finish.
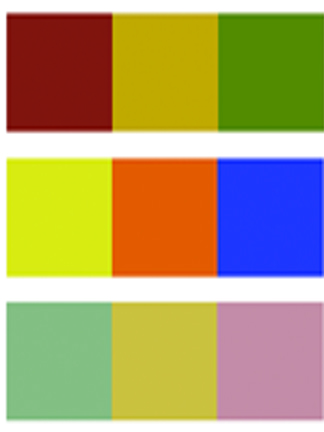
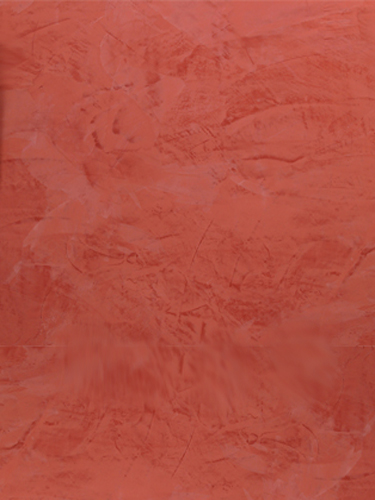
The Rustic Color Palette
The Rustic Style color palette falls within a distinct range of color tones and is essential in creating a successful Rustic interior. By using the appropriate color tones you can create a variety of design styles ranging from Period and Historic, regional or thematic. Color helps define our experiences within an interior and exterior environment. It affects us on a physical, emotional, and spiritual level and can be calming and passive, expressive and vital.
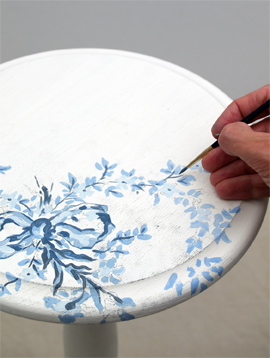
Painted Floral Details
Floral patterns used as accents in fabrics and furniture are common place details in the English Country home. These graceful and organic patterns complement the cozy interior of this style and work particularly well with lace window treatments, an heirloom tea service set and the natural and rustic charm of wooden ceiling beams and slightly irregularly textured walls.