Simulated leather paint effect - How to paint leather          

Simulated Leather

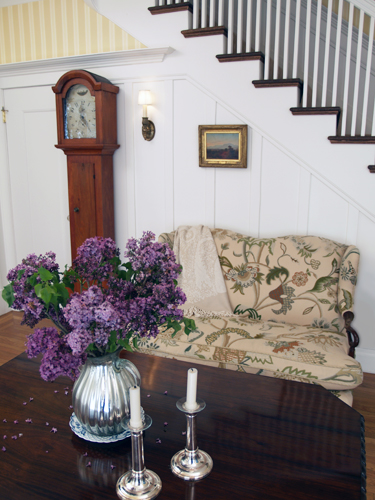
A handsome and natural looking finish, the Simulated Leather faux effect can be particularly successful when used to create rustic interiors. It seems a natural solution for the rural design aesthetic, as it compliments the mixed material use so common to this style; wood, stone, terra-cotta and iron. Though this effect is ideally suited for furniture and objects, it assumes a grander, more mature feel when used on wall surfaces, as seen in this demonstration.

Rustic Style Classic Elegance
Rustic Plaster

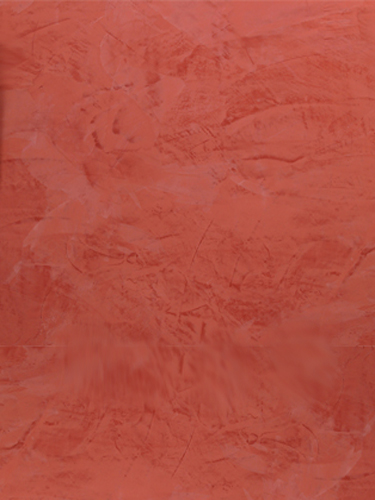
Stucco Rustico is a Traditional interior and exterior textured plaster that epitomizes the rustic old world charm commonly associated with Tuscan environments. I love this treatment for its ease of application and the natural, organic glazed appearance that results when using mineral based plasters and glazes. Whether a rough application or a smooth finish, this treatment holds true to the test of time and, in fact, feels as if time itself stopped to wash the walls personally.

more


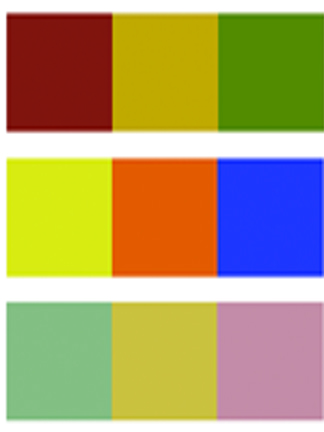
Color Palette

TIPS

Paint in segments. When applying the Dark Leather glaze, only paint one wall surface at a time. It may be necessary to segment the glaze application for walls larger than 8ft (2.4m). Do this by applying the glaze in 6 to 8 foot sections, leaving the glaze wet on the outside edge of the glazed segment.

Apply the plastic drop cloth onto the wall within 12 inches (30cm) of the wet edge. The plastic will automatically stick to the tacky glazed surface.

Before peeling the plastic, apply glaze to the remaining wall area. Peel the plastic off, as i step 5, and immmediately re-adhere it to the following section, allowing a minimal overlap onto the previously treated section.

Base color – Desert Tan

painted leather effect

Glaze color – Dark Leather

painted leather effect

painted leather effect

Step 1:

Apply base color:

Apply the base color, Desert Tan, with a 1/4 inch (6mm) short nap roller over the entire working area.


Step 2:

Mix glaze:

Pour 1 quart (1l) of latex glazing liquid into a 2.5 quart (2.4l) bucket, and add Mixol Universal tints of Raw Umber, Burnt Umber, Raw Sienne and Utlramarine Blue in a 6:4:2:1 ratio blend to create a dark, reddish-brown color.

You can also purchase the Leather Glaze pre-mixed and ready to go at the artSparx glazing center.

Ultramarine Blue is added to the glaze as it helps darken the overall glaze and diminish the predominant red tones of the earthy glaze. Once thoroughly mixed add about ¼ cup of water to thin the glaze, while still keeping the mixture rather thick and opaque.


painted leather effect

Step 3:

Apply glaze

Using a 3 inch (8cm) large brush, liberally spread the glaze over the entire wall surface, working in cross-hatch or back and forth motions to insure complete coverage.


parchment paint effect

Pre-mixed Glazes

Ready, set, GO!

Getting going with these premixed glazes. Select one of our pre-mixed glaze colors or create your own. We custom mix any color from all major paint manufacturers. Just pick your own color from any swatch book and let us know the paint name and number and we'll send you the right glaze - interior or exterior - custom matched to your liking.

Create classic effects such as colorwashing, dragging, striee, antiquing effects, furniture effects and much more!

Buy Now!

premixed color glaze for faux finishing


painted leather effect

Step 4:

Press the plastic

Unwrap the plastic drop cloth and, while the wall is still wet with glaze, place the plastic over the surface. Press and move the plastic onto the surface in a random manner.


painted leather effect

Step 5:

Remove plastic

When the plastic is completely covering the wall, start from one corner and slowly begin to peel the plastic off. You’ll notice the texture is created instantly. Remove the plastic completely and lay it onto the next area, repeating the process until you are finished. Let dry.

To soften the overall appearance you can use a dry brush and lightly feather brush over the surfaces, blending the texture. 

Step 6:

Sealer - Optional

A clear coat sealer may be applied for additional protection.


painted leather effect

Soften the leather appearance with a dry brush, or leave it fresh after the plastic is removed for a more textured appearance.


Related Features